How can I create custom pages for different Portals?
Custom pages allow you to add tailored content for various Portals here at PheedLoop. Common use cases include FAQs, sponsor information, venue details, or highlighting important milestones. These pages are fully customizable and can be linked directly in the portal navigation for easy attendee access.

Custom pages can appear as an individual page, a pop-up, or an external link to another page.

The first step is to determine which portal the custom page should be hosted on. We recommend creating your custom pages first before populating them with content.
Custom pages are available on all front-end portals, including:
| Portal | Instructions |
|---|---|
| Event Website | The guide for creating custom pages on the Event Website is available here. |
| PheedLoop Go! | Instructions for creating custom pages in PheedLoop Go! are available here. |
| Event Portal | Instructions for creating custom pages are shared within this article. |
| Virtual Portal | The Virtual Portal follows the same settings as the Event Portal for creating custom pages. Navigate to Experiences > Virtual > Custom Portal Pages to create custom pages. |
| Member Portal | Custom pages for the Member Portal are created in the Membership Dashboard. For instructions, please refer to this article. |
Creating Custom Pages
We will use the Event Portal as an example. From the Event Dashboard, navigate to Portals > Event > Custom Portal Pages.

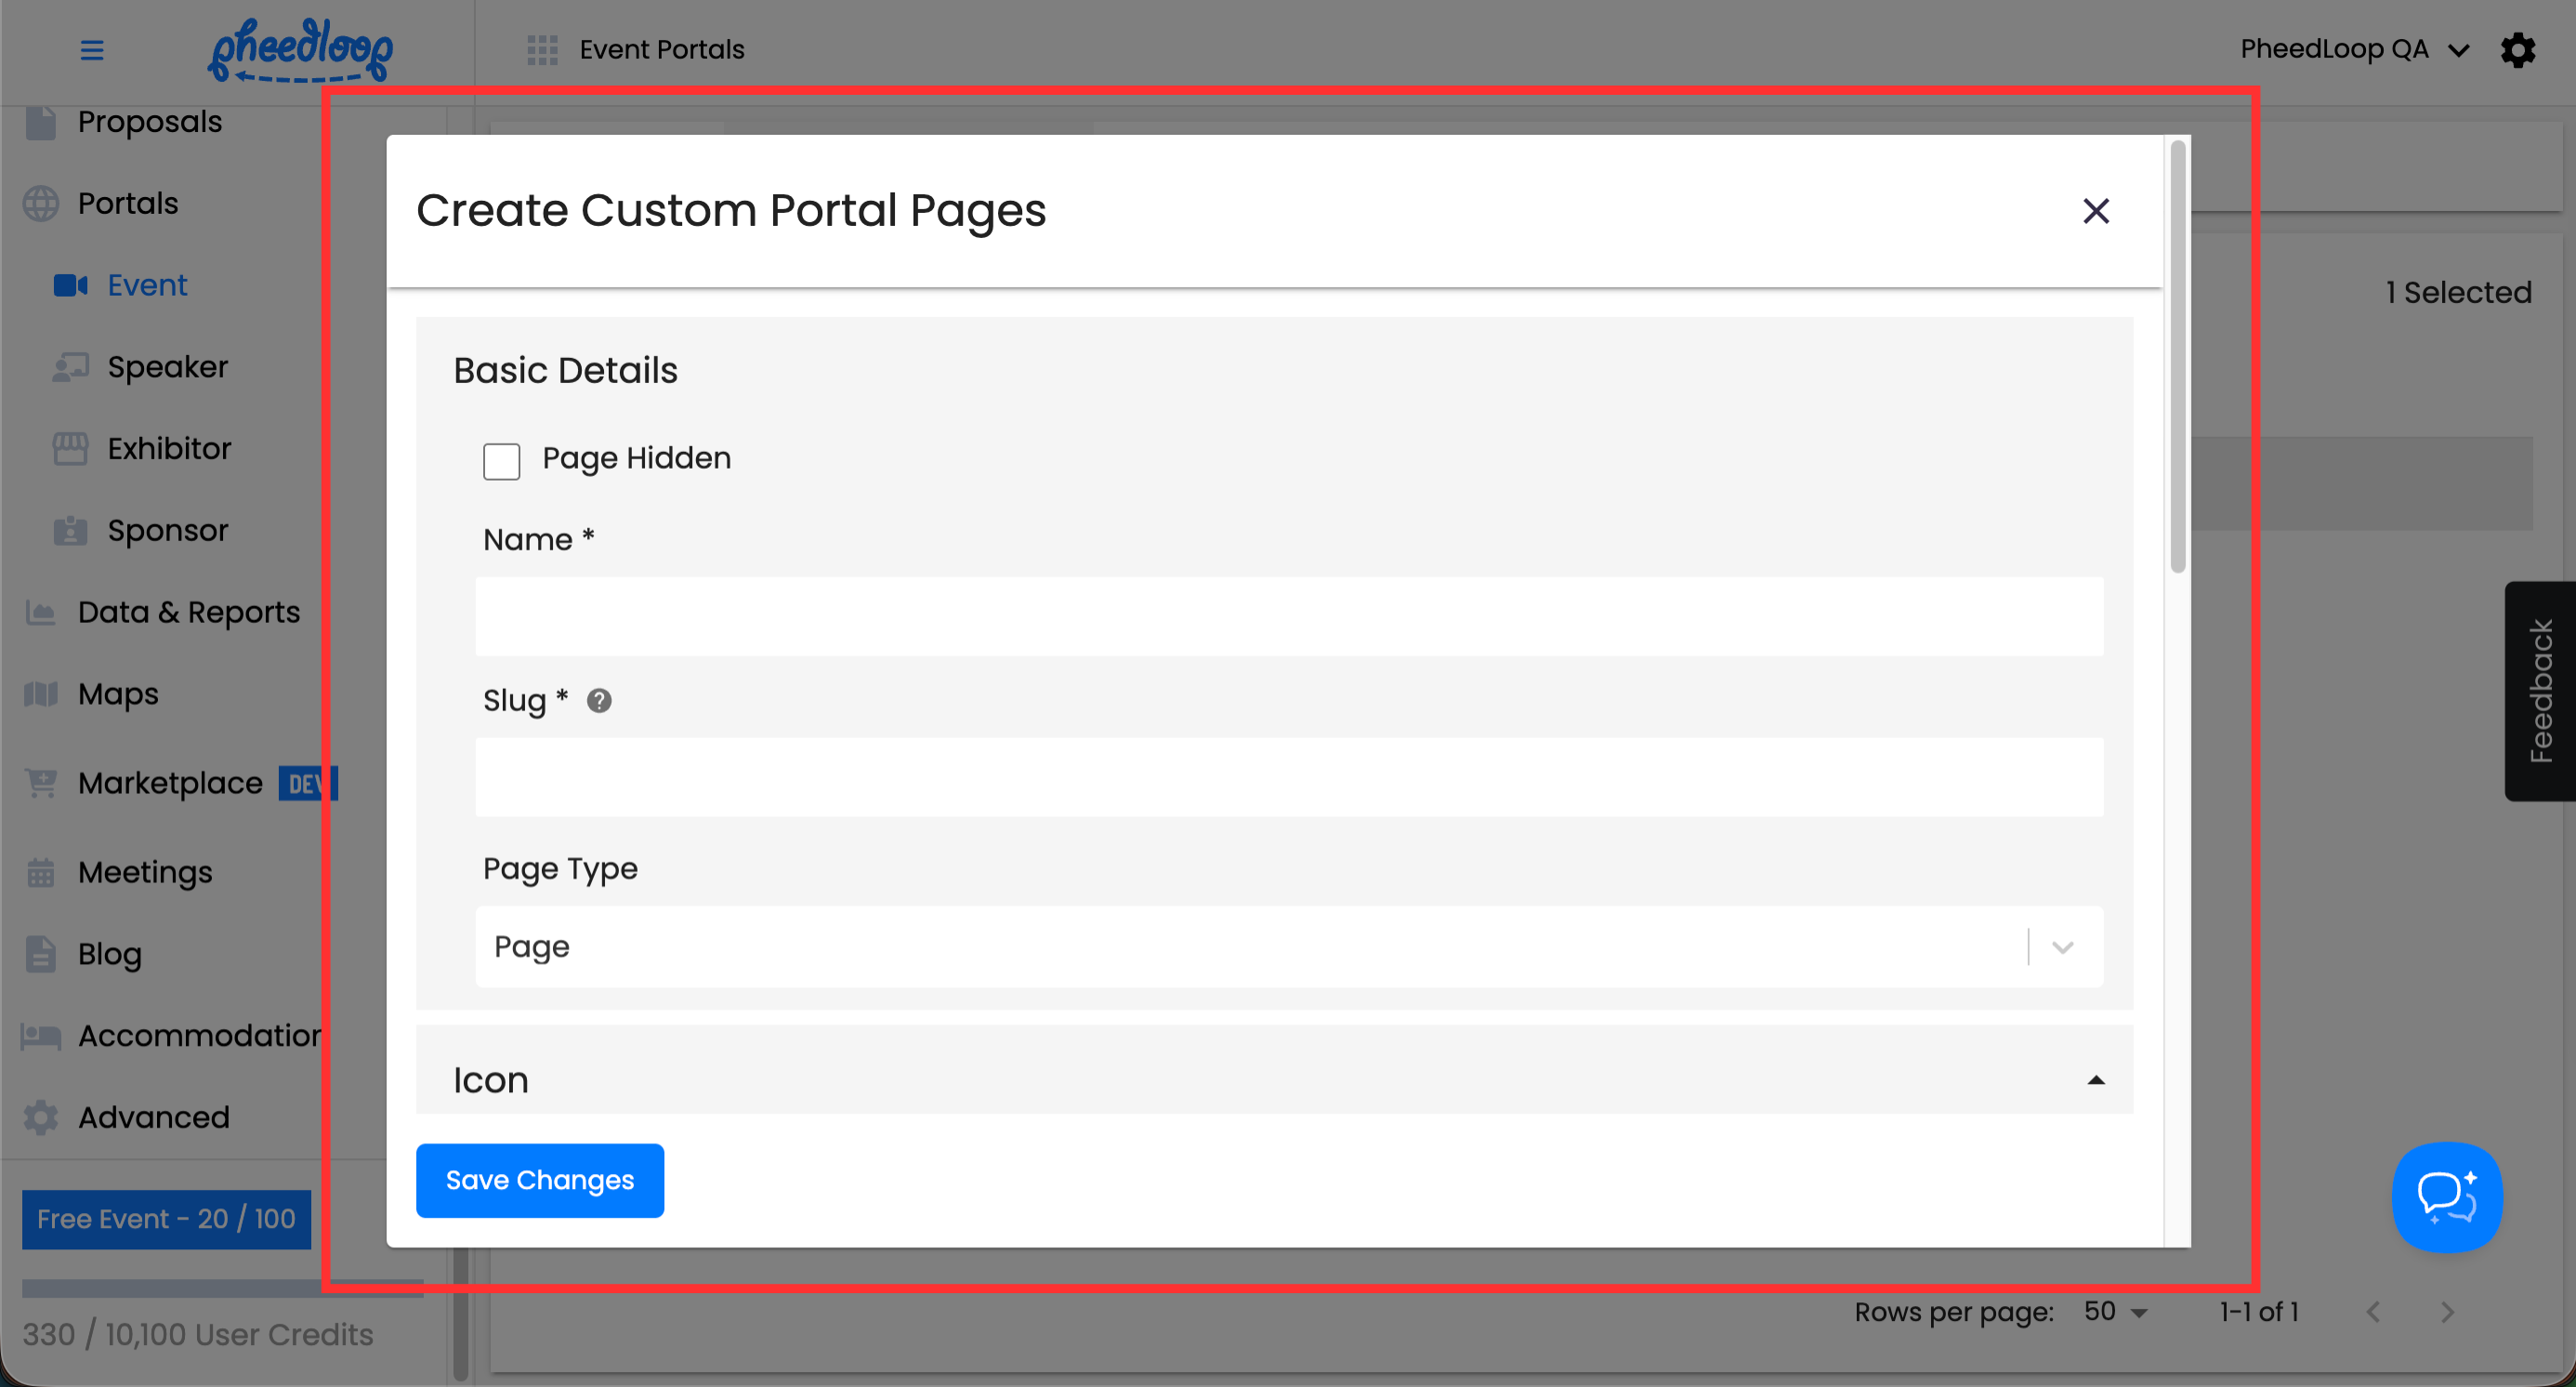
- Above the custom portal pages table, select Create
- Toggle on the Page Hidden checkbox if you would like to hide the page until it is ready
- Fill out the Name and Slug fields
- Slugs are added to the url of the custom portal page
- Under the Page Type field, select the method of which the Custom Page will appear
- Selecting Page will result in the page appearing as a regular page just as any other in the Event Portal.
- Selecting Dialog (Pop-Up) to have the page appear as a pop-up window rather than as a regular page.
- Select Link to have the page lead to an external URL. When enabled, the page will not display any custom content.
-
Select Save Changes

Customizing Custom Pages
Now that your page has been created, you can customize it to your liking.
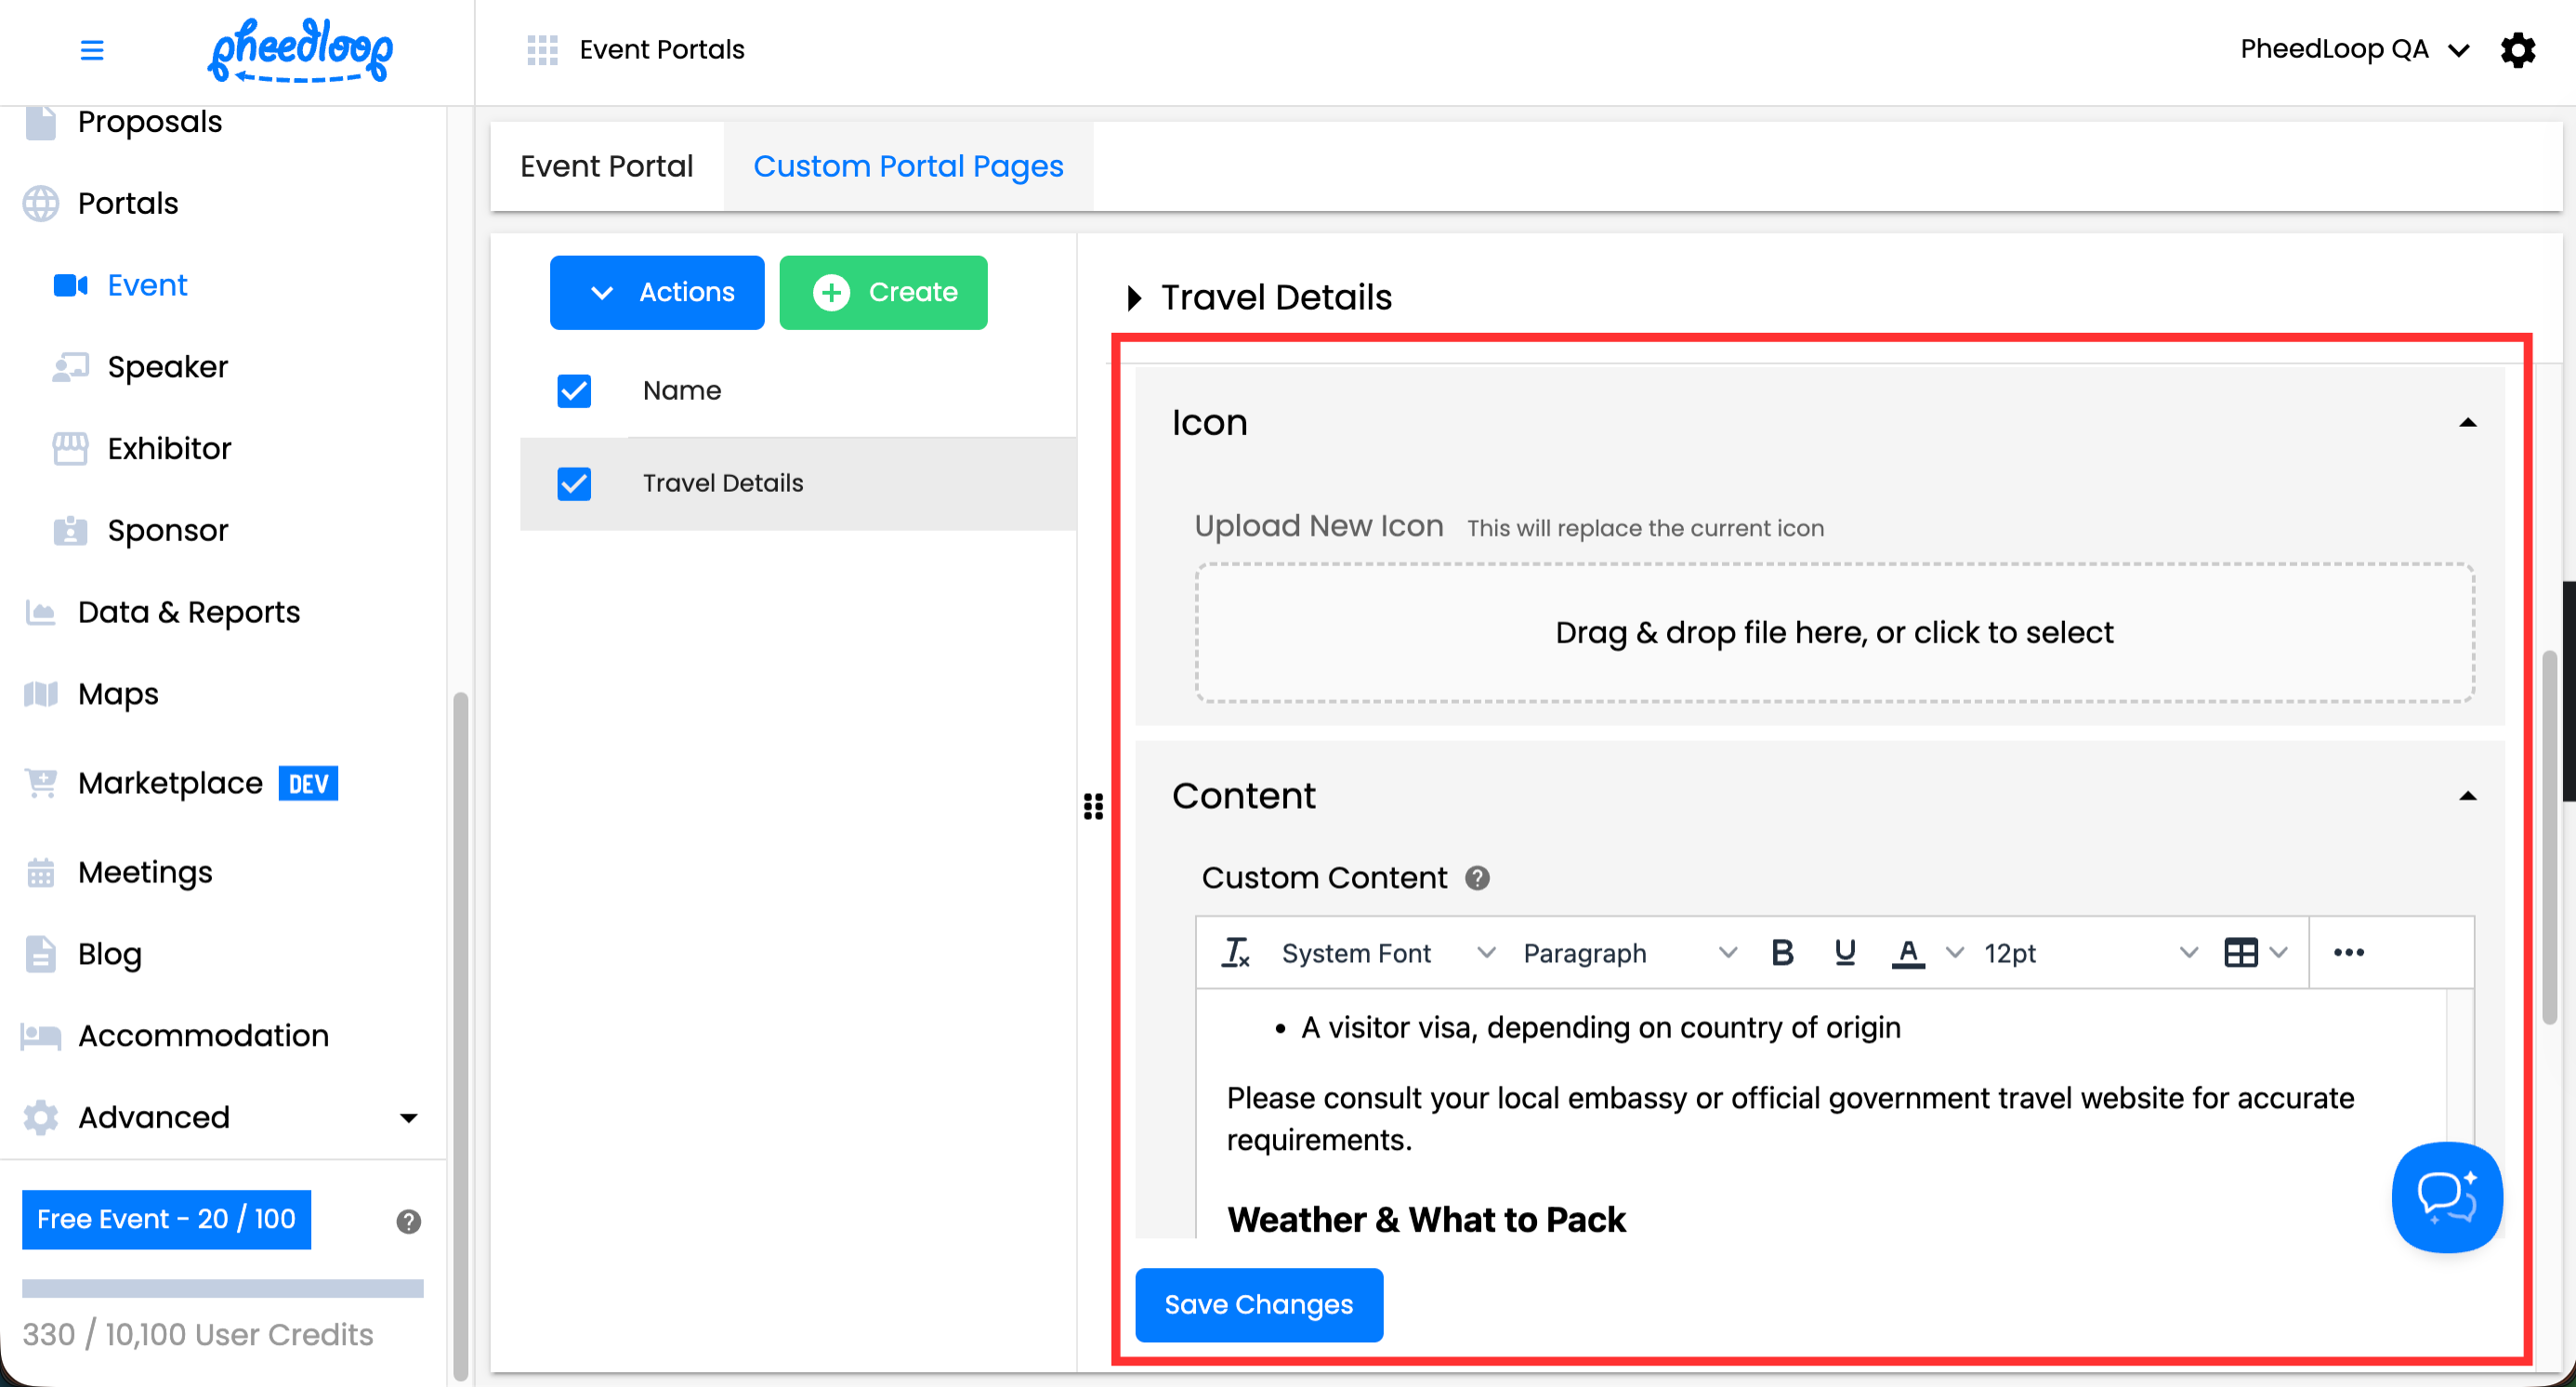
- If you have not already, select the custom page
- Scroll down to Icon and select Drag & drop file here, or click to select to upload an icon for your Custom Page
- Under the Custom Content field, enter the content for your custom page here
- If you wish to add any custom CSS, include it under the Custom Style field
- Under the Restrict Access by Attendee Tag field, select any tags that the attendee must possess in order to see the page
- If left empty, all attendees will be able to see this page.
-
Select Save Changes

Deleting Custom Pages
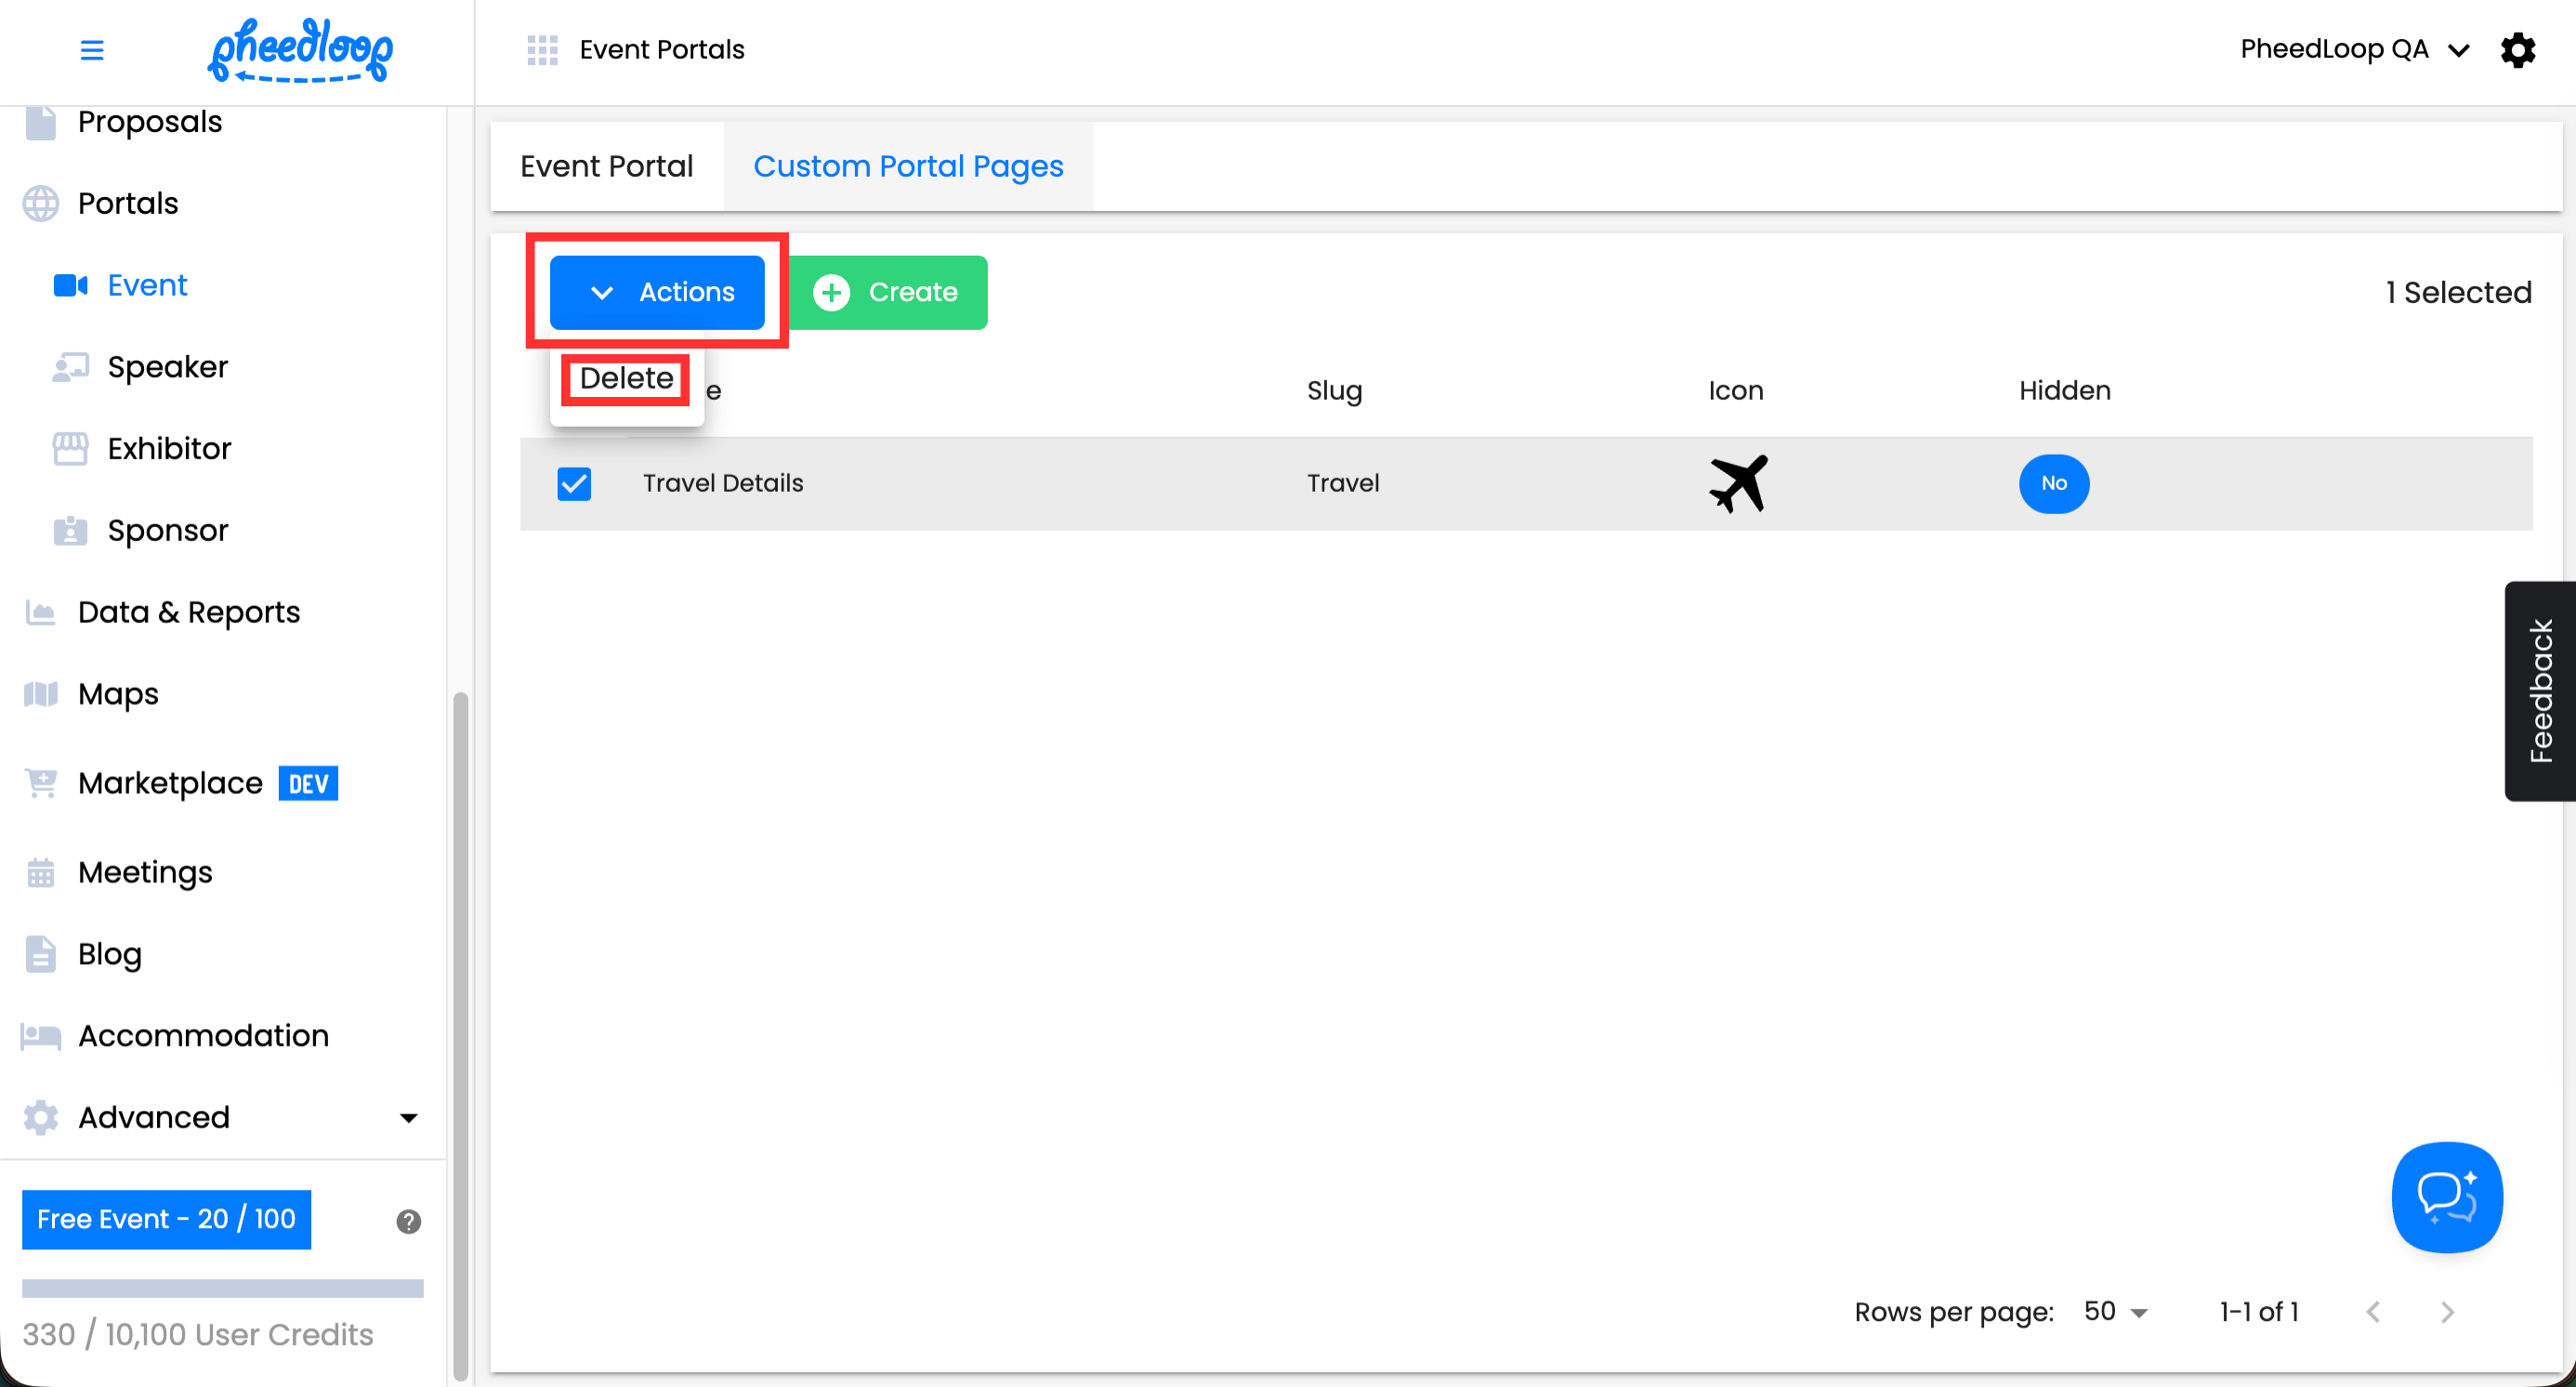
- From the Event Dashboard, navigate to Portals > Exhibitor > Custom Portal Pages
- Select the custom portal page you would like to delete from the list
-
Above the custom portal page table, select Actions > Delete
-
Select Confirm


